Sponges or dishcloths? In my house it’s a little bit of both. I go through a time of buying sponges, then a time of using cloths. I don’t really have a favorite, though I love that each can be cleaned in their own way.
This new dishcloth will save space on your sink by combining a cloth and a scrubber together. It’s little antennae allow you to hang it dry.

These dishcloths will set you apart at any bridal shower. Why give the boring when you can give the spectacular?
This pattern is worked in three parts. First, you will make the center with the scrubby yarn. Then you’ll make the right wing, then left without any need to sew them together later. This will create a stronger bond that will allow you to abuse the cloth to your hearts content and clean the dirtiest of dishes.

Butterfly Dishcloth
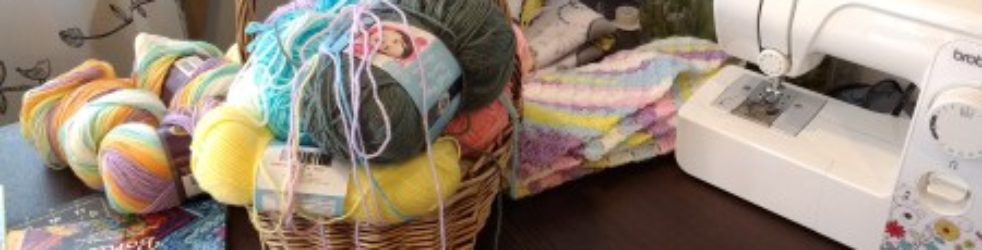
Yarn: 1 skein Peaches & Creme Cotton yarn, 1 skein Red Heart Scrubby yarn
Hook: J-hook (6.0 mm)
Gauge: Gauge is not important to this project
Finished size: Approximately 10” across at widest spot
Stitches:
- Ch—Chain
- Sc—single crochet
- Hdc— half double crochet
- Dc—double crochet
- Tc—treble crochet
- Sk—skip
- Sl st—slip stitch
- St—stitch
- crab stitch—reverse single crochet
Center (butterfly body):
Round 1: With scrubby yarn, ch 21. Sc in 2nd ch from hook 3 times, sc in next 18 st, 3 sc in last st. Working down the other side, sc in next 18 st. Join with sl st to 1st st.

Round 2: Ch 1, 2 sc in same st as join. [3 sc in next st, 2 sc in next st, sc in next 18 st] 2 sc in next st. Repeat from [ to ]. Join with sl st.
Round 3: Ch 1, sc in same st as join. Sc in next st. [2 sc in next st, 3 sc in next st, 2 sc in next st]. Sc in next 22 st. Repeat from [ to ]. Sc in next 20 st. Join with sl st.
Round 4: Ch 1, sc in same st. [Ch 1, sk 1, sc in next st] around ending with ch 1, sk 1, join with sl st. Fasten off. Weave in ends.

Right Wing: Wings are worked in rows, not rounds.
Row 1 (wrong side): With cotton yarn, locate the third ch 1 space from the tip of the center piece. Join cotton yarn with sl st, ch 1. [sc in ch 1 space, ch 1, sk 1] 9 times. Sc in next ch 1 space.


Row 2: Ch 2 (counts as st), turn. Dc in same st as join and next 17 st. 2 dc in last st.
Row 3: Ch 2, turn, 2 dc in same st, dc in next 19 st, 3 dc in top of ch 2.

Row 4: Ch 3, turn. 4 tc in 1st st, sk 2, sc, sk 1, 5dc, sk 1, sc in next st, sk 1, 5 dc in next st, sk 1, sc in next st, tc in next st, 3 tc in next st, sk 1, sc in next st, hdc in next st, dc and tc in next st, 7 tc in next st, sk 3, sc in last 2 st.
Row 5: ch 2, turn, (sk 1st st) hdc in next 3 st, dc in next st, sk 1, 5 tc in next st, sk 1, dc in next 2 st, hdc in next st, sc in next 5 st, ch 3, sk 1, sl st in next st, sc in next 13 st, hdc in next st, 3 dc in next st, dc in next st, dc in top of ch 3.
Row 6: Ch 1, turn, sc in next 7 st, hdc in next 3 st, 3 dc in next st, hdc in next st, sl st in next st, sc in next 2 st, hdc in next st, 3 dc in next st, sc in next 3 st, 1 sc in ch 3 space, 5 tc, sk 2, sc, sk 1,5 dc in next st, sk 2, sc in next st, sk 1,7 tc in next st, sk 2, sc in next 4 st and sc 6 more st along the side. Do not turn.


Row 7: Ch 1, Crab stitch around the entire edge of the wing.


Left Wing:
On the right side of the piece, turn the butterfly so the wing is on the bottom. Locate the space on the body directly across from the first st in the right wing. Join with sl st.


Rows 1-6: Repeat Rows 1-6 in Right Wing pattern. Fasten off.
Row 7: With right side facing, sl st to the bottom edge, Ch 1, Crab stitch around the entire edge of the wing. Fasten off. Weave in ends.


Finishing: Locate the two ch 1 spaces on either side of the top tip of the butterfly body. Thread a 5” piece of yarn through each. Tie a knot at desired loop length and trim.
